
 영어
영어 中文简体
中文简体 Русский
 Español
 Português
 Türkçe
 العربية
 Deutsch
 Polski
 Italiano
 Français
 한국어
한국어 ไทย
ไทย Tiếng Việt
 日本語
日本語





























플러그 토크 테스터
사용자 설명서
적용 할 수있는 LISUN 모델: LSPTT-1
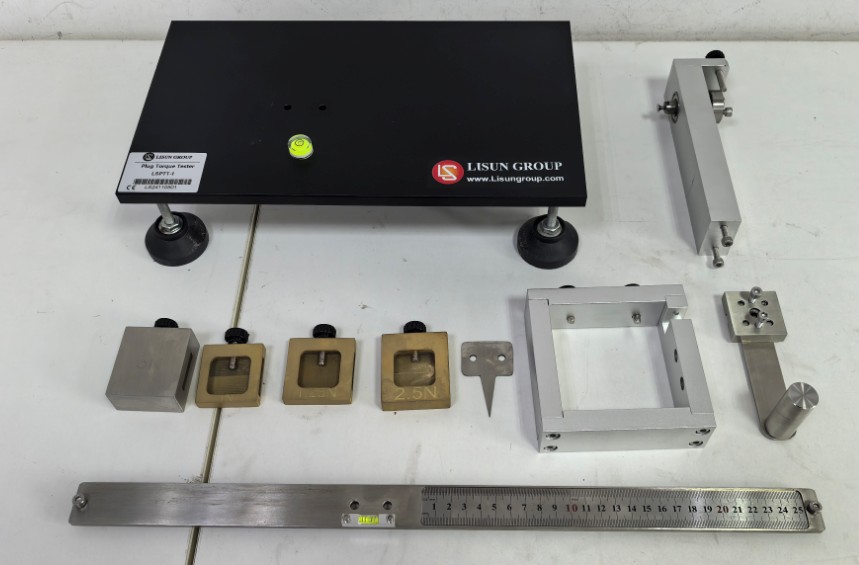
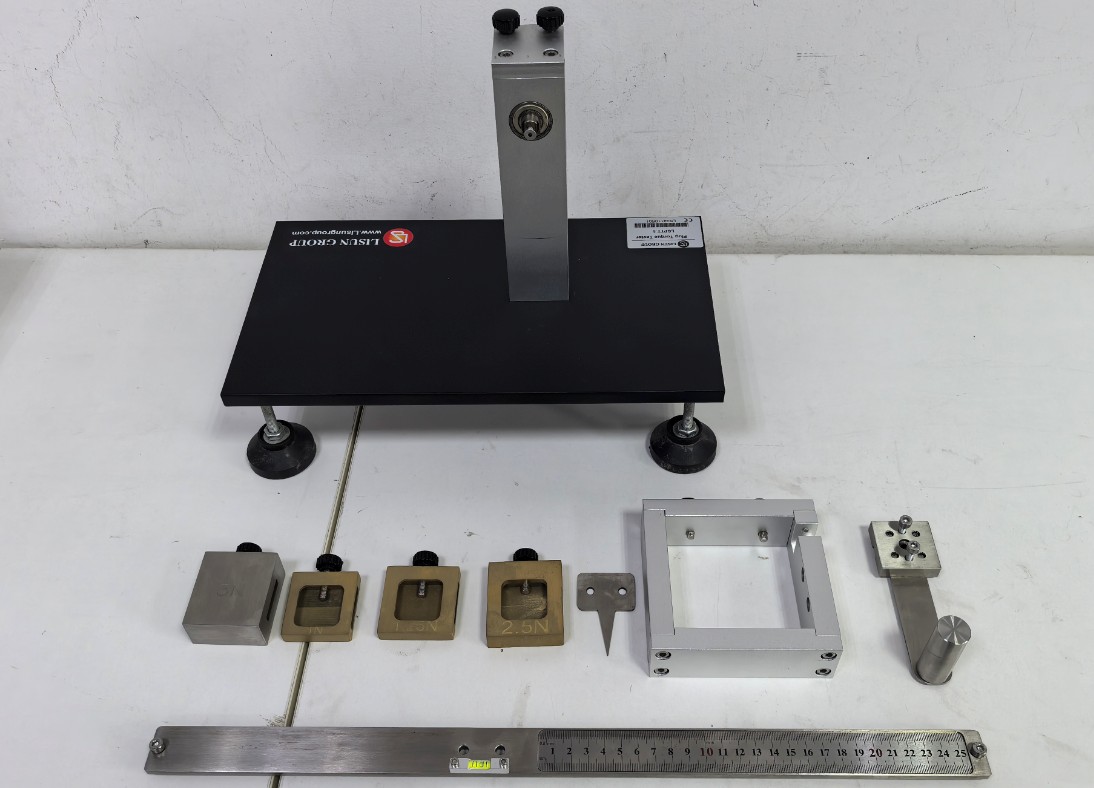
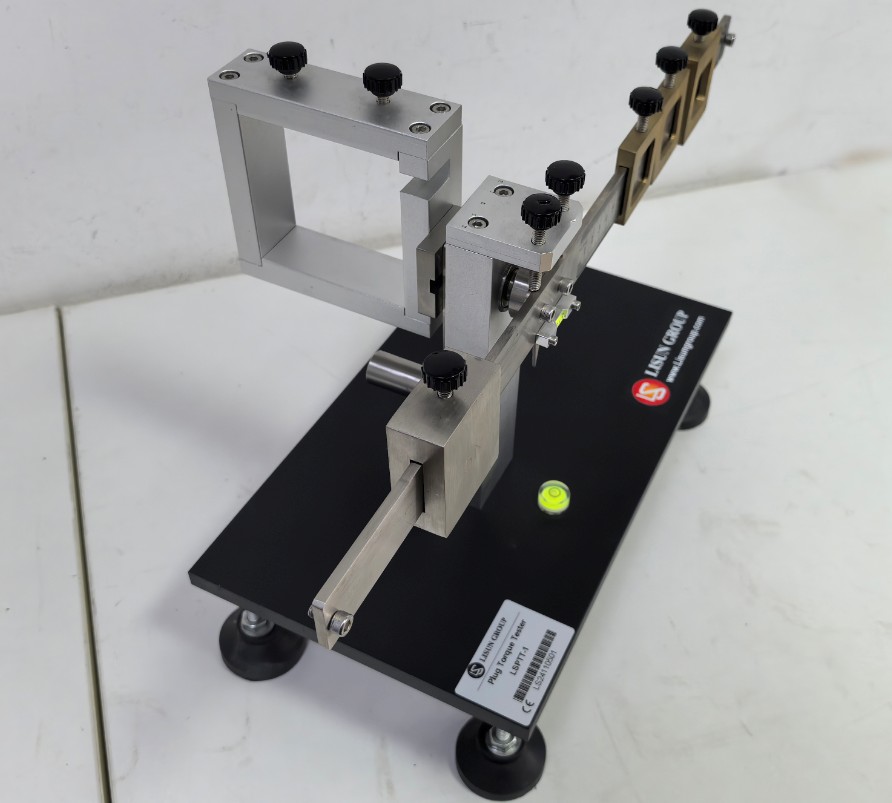
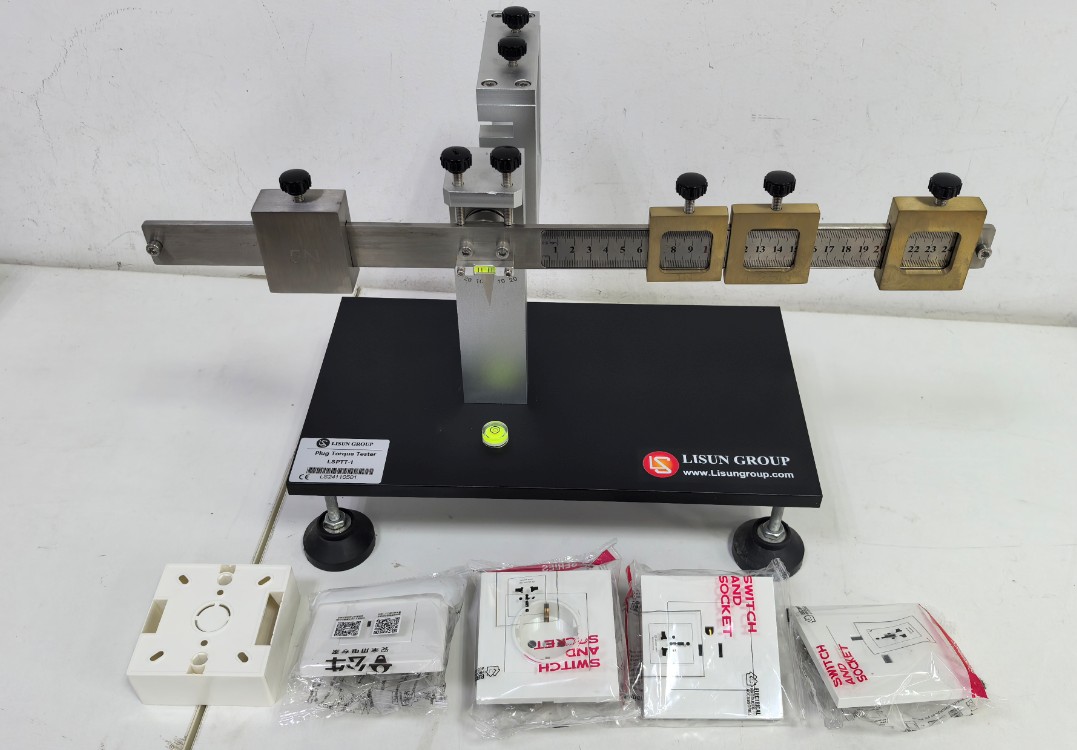
To prevent damage during shipping, your equipment may have been shipped in separate packages. Please open all packages. All parts are listed below:
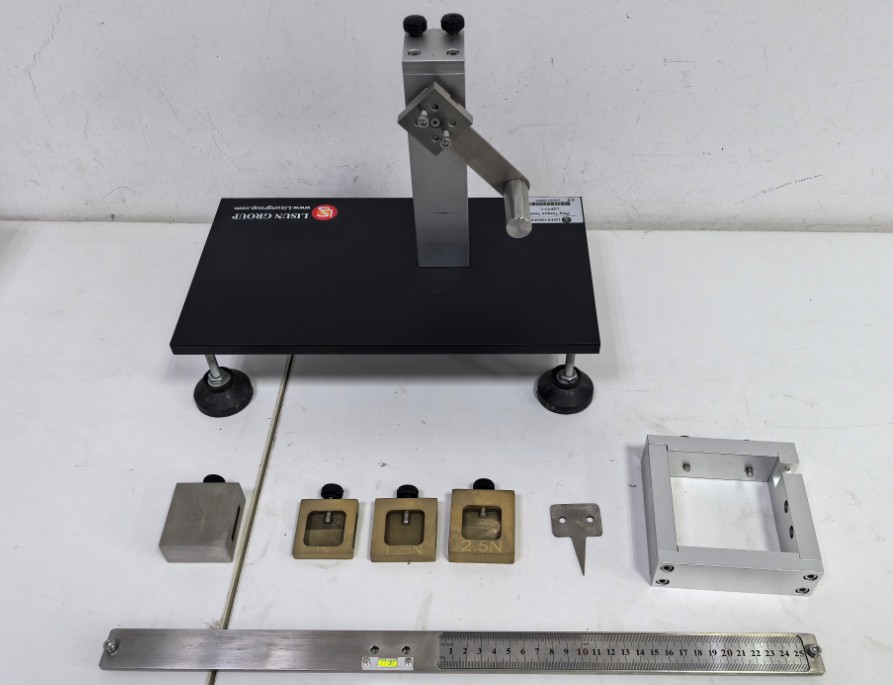
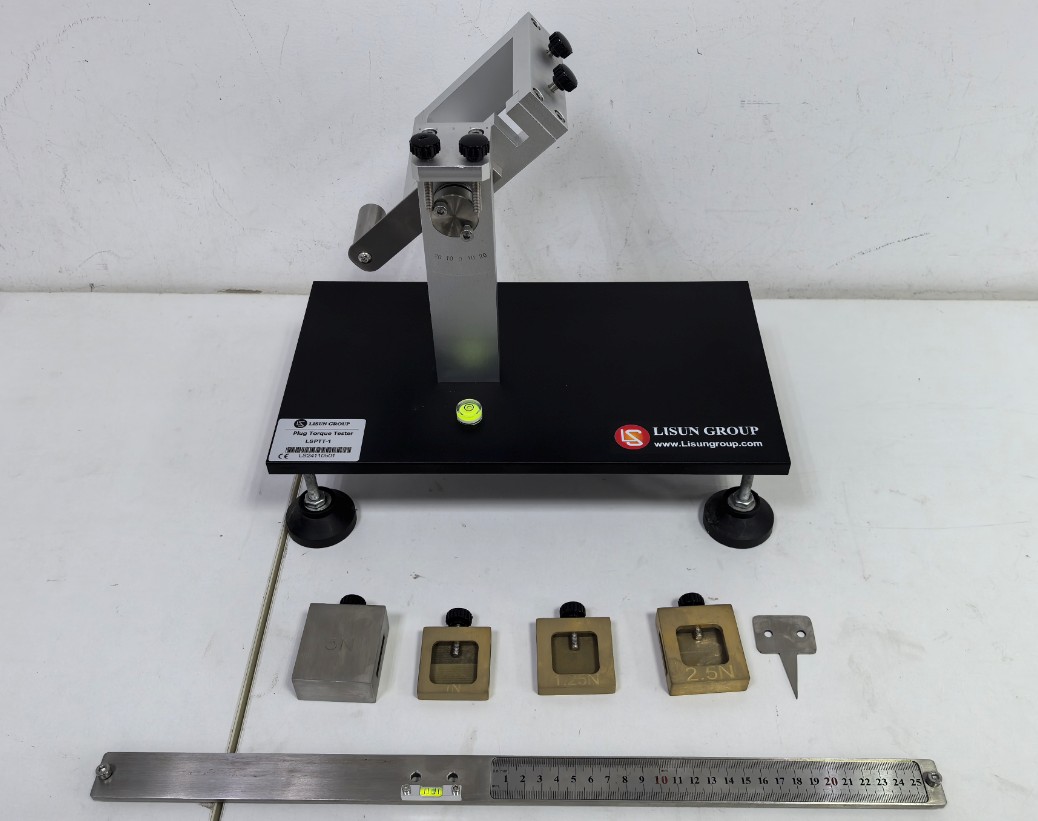
Follow the steps in the diagram below to assemble the equipment:
The equipment comes with several common types of outlets to facilitate testing. See the figure below:
중요 사항
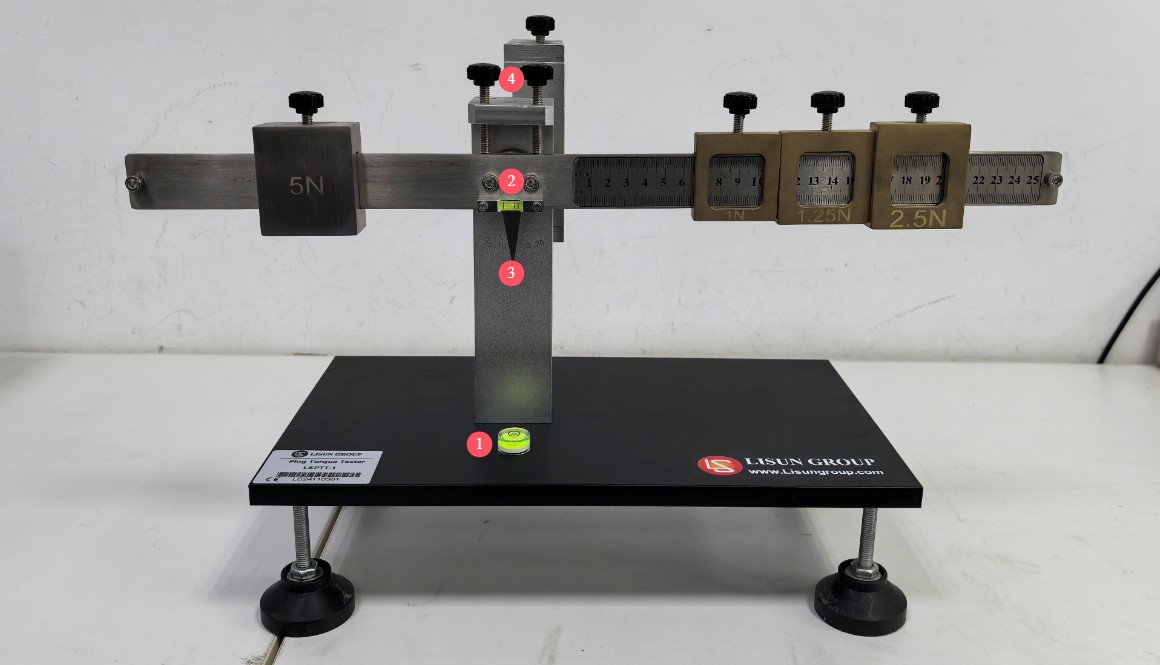
Place the device on a stable, level surface. Adjust the base, referring to the bubble at point = 1 * GB3①, to ensure the entire device is level. Adjust the gap between the screws at = 2 * GB3②, using the bubble on the steel ruler as a reference, to ensure that when the pointer at = 3 * GB3③ points to the 0-degree position, the steel ruler is level. Note: When adjusting the steel ruler, you will need to loosen or tighten the two thumb screws at = 4 * GB3④ as needed.
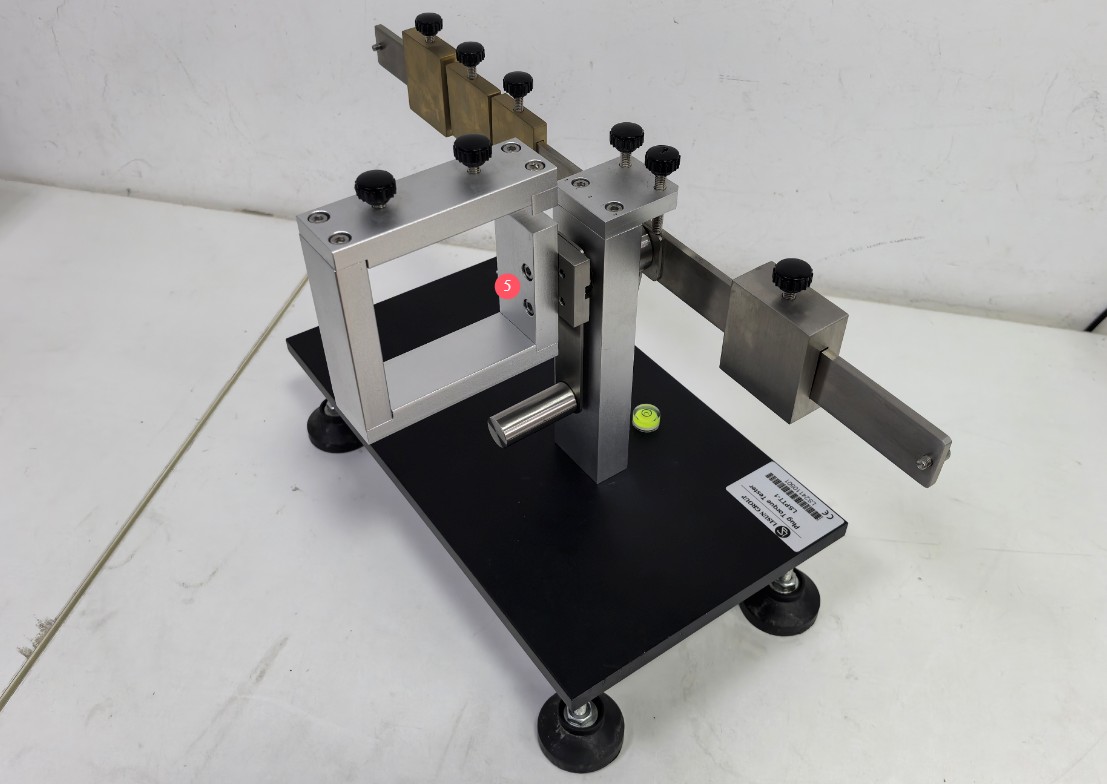
Adjust the screw clearance at = 5 * GB3⑤ so that the socket clamp is in a vertical position.
장비 사용
Adjust the test weight on the right side of the device so that its left edge is positioned 10 mm from the steel ruler, then adjust the balancing weight on the left side to level the balance arm, then check whether the spirit level on the balance arm is level (the bubble in the center indicates a level position). If it is level, the mating surface of the output socket is in a vertical position; if it is not level, fine-tune the balance arm further.
Insert the sample into the output socket, and adjust the position of the weight on the balance beam to the right so that the mating surface is vertical (check to see if the spirit level bubble is centered).
Read the value on the steel ruler, multiply it by the weight of the weight, and the result is the torque applied by the sample to the output socket. Alternatively, place a 2.5-N weight at a distance of 100 mm from the starting point of the balance arm(The left edge of the test weight on the right side of the apparatus is located 10 mm from the steel ruler) at the 100 mm mark, and determine whether the torque applied by the specimen is within the range specified by the standard by observing the position of the balance arm.
LED용 광도, 색도 및 안전 성능 테스트 솔루션
고니오포토미터 시스템: LSG-6000, LSG-1890B및 LSG-1800ACCD
분광복사계 및 적분구 테스트 시스템: LPCE-2 or LPCE-3
LED Life는 LM-84에 따라 테스트 시스템을 유지합니다. LEDLM-84PL
광생물학적 방사선 안전성 시험 시스템: EN 62471-C 또는 EN 62471-P
램프 시동, 예열 시간 및 깜빡임 테스트 시스템: LSRF-3 LSP-500VARC-Pst
LED 전원 드라이버 테스터: LS2090, M9822예산 및 LSP-500VARC
IK 레벨 테스터 | 스프링 해머 충격 시험기: IK07-10, IK01-06
전기역학적 진동 발생기 시스템: LVD-100KG-6D
전기 안전 검사원: LS9955, ZRS-3H, ZY-3, TTC-1
LED 등기구용 환경 챔버 테스트 솔루션
IPX5 및 IPX6 방수 테스트: JL-56
IP5X 및 IP6X 방진 테스트 장비: SC-015
High- and Low-Temperature and Humidity Chamber: GDJS-015B
염수 분무 시험기: YWX/Q-010
UV 램프 노화 시험 챔버: UV-263LS
크세논 램프 노화 테스트 챔버: XD-80LS
오존 시험 챔버: OTC-150A
이산화황 시험 챔버: SQ-010
CFL 및 LED 조명기구용 EMC 및 EMI 테스트 솔루션
EMI 테스트 시스템: EMI-9KB or EMI-9KA
정전기 방전 시뮬레이터: ESD61000-2
EFT 면역력 측정: EFT61000-4
서지 생성기: SG61000-5
전압 강하 및 정전 발생기: CSS61000-11
링 웨이브 발생기: RWG61000-12

WWW. Lisun그룹닷컴
특허 출원
모든 권리 보유 Lisun 그룹
사전 고지 없이 변경될 수 있습니다.